These days, DIY projects are all the rage! Everyone seems to be enjoying it. For some people, DIY projects give them an opportunity to engage in home improvement projects. One major project you can work on is your fence.
A fence can serve several purposes; it can help secure your property, improve the curb appeal of your home, enhance your privacy and provide safety against the elements. Building a fence is a worthwhile and fun project to undertake. Finishing it will surely boost your confidence and hone your DIY skills.
How to Build a Fence
Building a fence is a physically demanding project so ask for assistance whenever you are ready to undertake it. Fence panels are heavy and you need someone who can help you carry it. Depending on your skill level, the project may take you less than a day, or more, to complete.
Once you’re ready, prepare all the needed materials, tools and equipment.
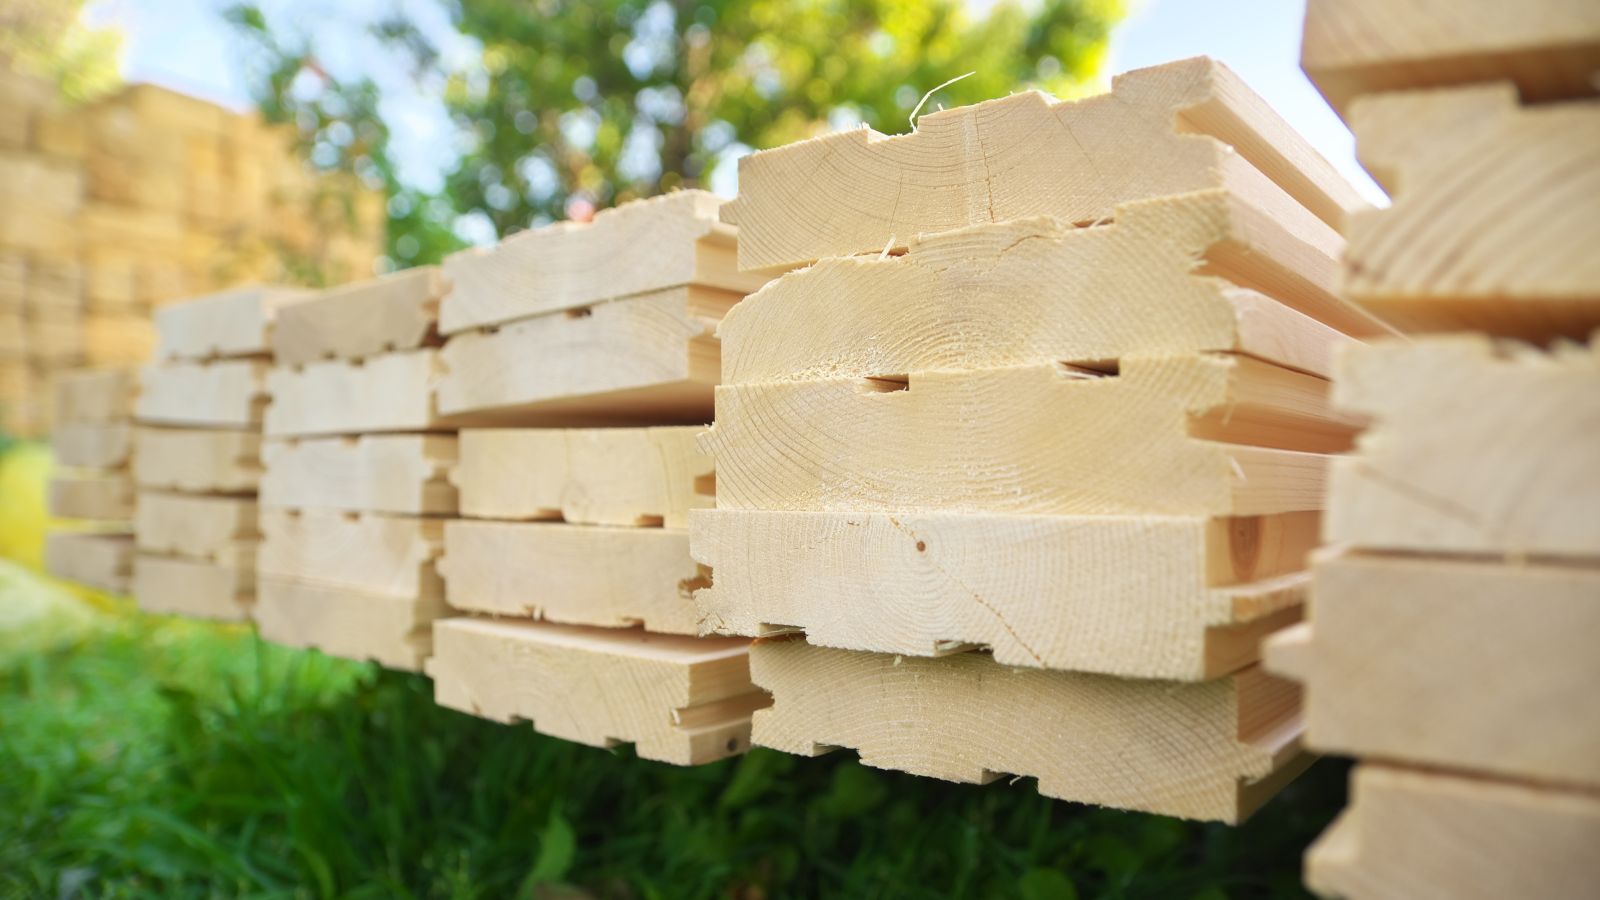
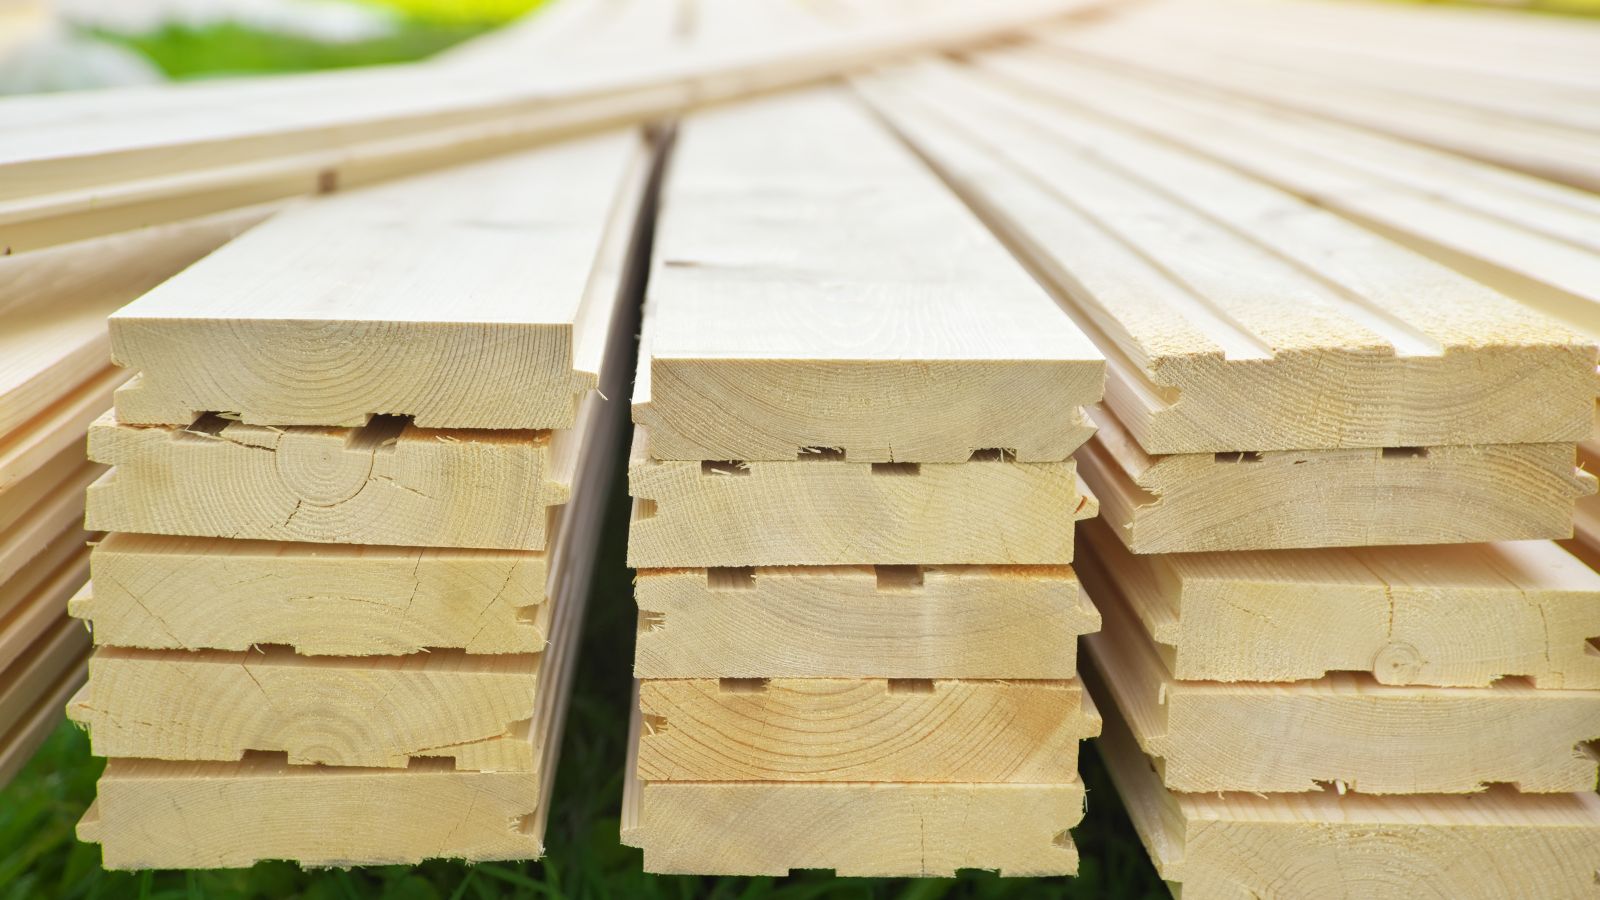
- Fence panels and posts
- Concrete mix
- All-purpose gravel
- Fence post caps
- Size #8 2-1/2 inch exterior screws
- Tape measure
- Rope and wooden stakes
- Bubble level or a laser level
- Posthole digger
- Pencil
- Eye and hearing protection
- Work gloves
- Marking paint
- Speed Square
- Circular saw
- Cordless drill
- Electric mitre saw
- Hammer
- Shovel
If your materials, tools and equipment are complete, you may begin with your project.
- Before you start, you need to discuss your building project with your neighbour and come to a general agreement. You also need to check your property title to determine where your property easement is situated.
- Some communities may require you to obtain a permit before building a fence, build it below a particular height or set it far enough from a road.
- Establish and measure your fence placement. Place a wooden stake on the ground every 8 feet and run a rope from stake to stake and place it a few inches above the ground. Spray marking paint over the rope to create a line on the ground. To avoid digging in gas lines or wires, contact your local utility locator.
- Mark an ‘x’ on the ground where your post holes will be placed along the fence line. The placement will depend on the width of your fence panels. The outer portion of the panels needs to reach the centre portion of the fence posts. Using your posthole digger, dig out the marked spots on the ground and make sure they are half the length of the post and three times as wide.
- Into the post holes, pour about 6 inches of all-purpose gravel
- Affix the posts in the holes and fill the hole around the fence with concrete. To check if your fence post is completely vertical, use a plumb. Wait for the concrete to dry before going to the next step.
- Fasten the fence panels to the posts using screws.
How to paint a fence
If your fence needs a facelift, you can grab a paint brush, paint roller or paint sprayer and spend a day or two enhancing its look. The great thing about using a sprayer is you don’t have to brush the same spot several times or tap your paint brush into tight areas. Basically, a paint sprayer can provide maximum and streak-free coverage. But if you don’t have budget for a paint sprayer, the paint brush or paint roller can do the job just fine.
Before you begin painting or staining your fence, let it season for about 4 weeks. This is because unseasoned wood may contain moisture and it can cause the wood to warp, which may affect paint or stain adhesion.
You have to wait until the wood dries up in good weather. Once the wood is ready, start painting early in the morning to prevent the sun from heating the wood. Paint or stain will evaporate quickly if your fence is too hot and it may cause your paint job to have defects or cracks when it dries up.
Just like any activity, the key to painting your fence is preparation.
- Cover surrounding areas with plastic or drop cloth to prevent splashes of paint or drips of paint from reaching them, especially the area under the fence.
- You may have to scrape or peel off old paint if your fence has been previously painted.
- Remove any debris, cobwebs or dust from the fence surface using a counter brush.
- Repair any damages on the fence before you begin painting. If you want a smooth finish, hide away screw or nail heads and holes with wood filler.
- You can begin the beautification project by using a paint brush, paint roller, or paint spray.
- After the first coat, allow the paint to dry before applying a second coat.
How much does a fence cost?
The cost of installing a fence will depend on a lot of factors.
- Type of fencing materials to be used. Wooden fences cost more than its alternative counterparts but the appeal they give to your property is great. Your alternative options would include steel, wrought iron, plastic, aluminum, corrugated metal, vinyl, picket, electric, wire and split rail.
- Labour charge. The charges differ from company to company but the majority of installers do charge by location or by parameters because the more materials are being used, the longer it will take for the project to be complete.
- Construction time frame. Some installers prefer to be paid per day and often work in pairs, especially if large fence panels are needed. It usually takes them around 1 to 2 days to complete a typical fence project, more if your project needs more fitting. Avoid companies that drag the project into weeks as much as possible!
- Additional expenses. Additional fees will incur if you want to add fence post caps and gravel boards. Some companies will also charge for waste removal.
- Planning permission. Most of the time, permits are not needed except when your house is listed as a building or is adjoined to one, your right to install a fence has been revoked, your fence is above two metres, or above one metre if you live adjacent to a highway.
How deep should a fence post be?
It depends on the length of your fence posts but as a rough guide, you need to put 1/3 of the fence post under the ground. For instance, a fence post that is 6 feet in height would need at least 2 feet of its length to be placed in the ground.